
LR3/Disco 3
Transfer Case - 4.0L (41.20.25)
Installation
Published : Jul 18, 2004
1 .
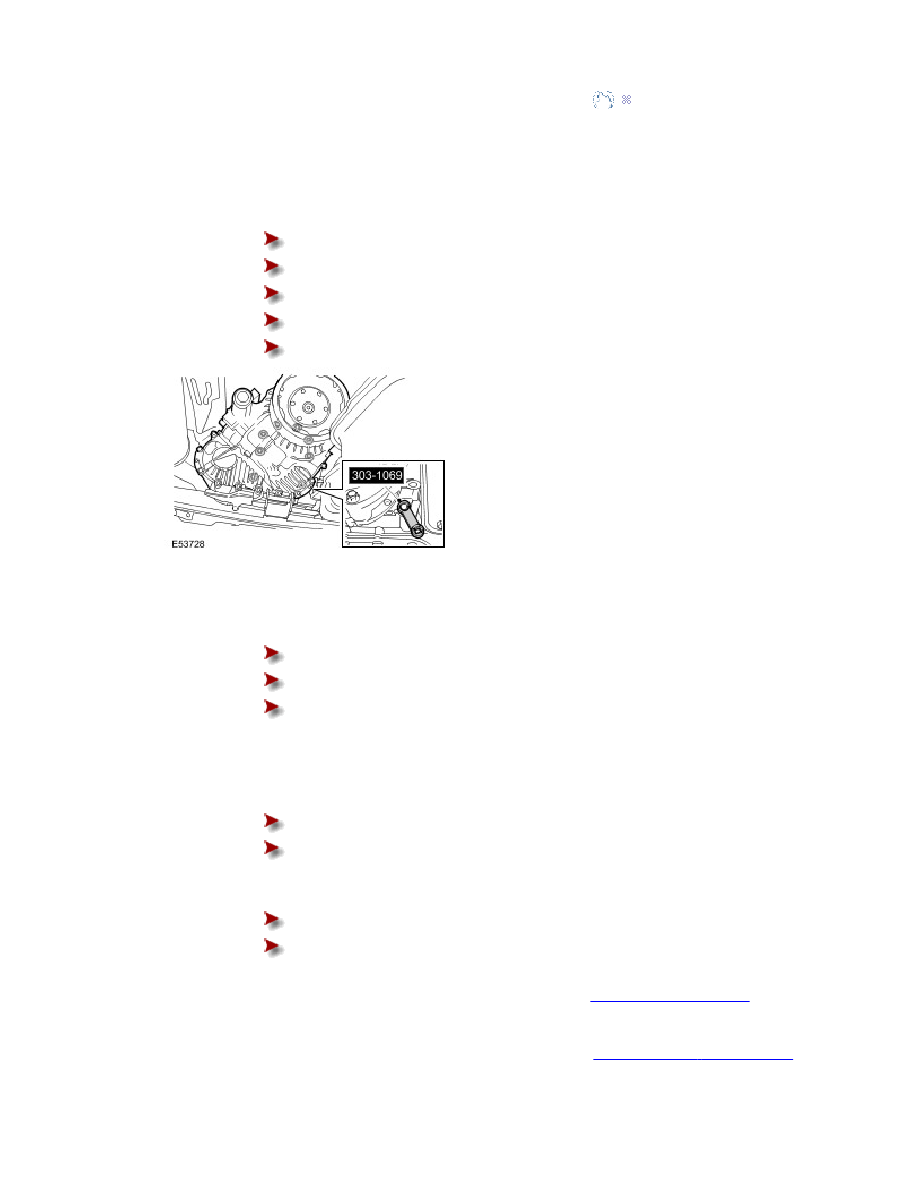
With assistance, install the transfer case.
Clean the component mating faces.
Lubricate input shaft splines with 'Weicon TL7391' grease.
Install the O-ring seal.
Align the fuel hose support bracket.
Using the special tool, tighten the bolts to 45 Nm (33 lb.ft).
2 .
Connect the breather line.
3 .
Position the fuel line support bracket.
Tighten the bolts to 10 Nm (7 lb.ft).
Secure the fuel lines.
Position the selector cable to its guide bracket.
4 .
Connect the electrical connectors.
5 .
Secure the wiring harness to the transfer case.
Secure with the clip.
Tighten the bolts to 25 Nm (18 lb.ft).
6 .
Install the transmission support insulator.
Clean the component mating faces.
Tighten the bolts to 60 Nm (44 lb.ft).
7 .
Install the rear driveshaft. For additional information, refer to
Rear Driveshaft (47.15.03)
(Section
205-01)
8 .
Install the front driveshaft. For additional information, refer to
Front Driveshaft - 4.0L (47.15.02)
(Section 205-01)