
300Tdi Discovery
76
CHASSIS AND BODY
62
REPAIR
’D’ POST TRIM CASING - LH - WITH REAR AIR
CONDITIONING FITTED - 5 DOOR
Service repair no - 76.13.73/20
Remove
1. Remove rear compartment lower trim panel.
See rear compartment lower trim panel - lh -
with rear air conditioning fitted.
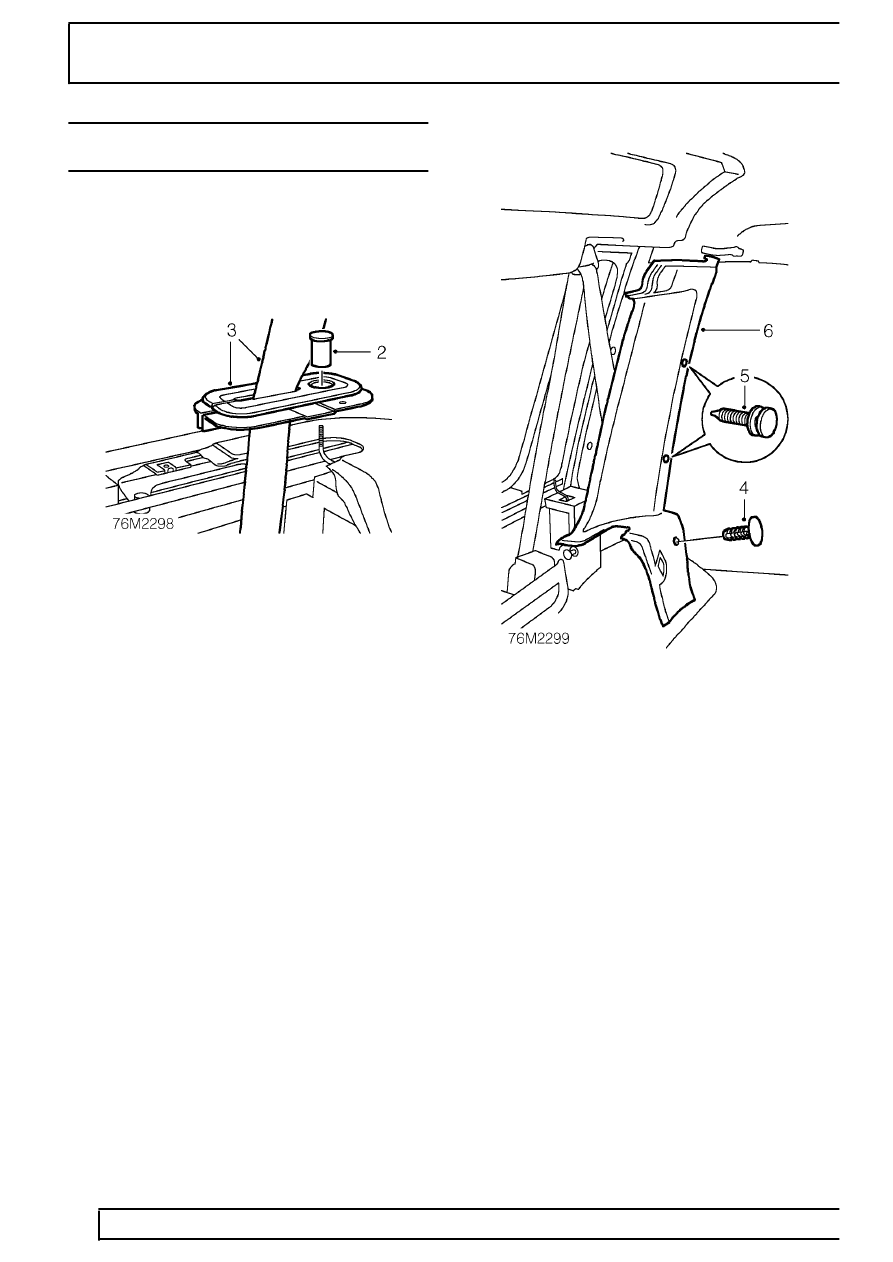
2. Remove the squab release button from control
rod.
3. Release rear seat belt from guide and remove
guide.
4. Remove the trim casing retaining stud.
5. Release trim casing from 2 retaining studs.
6. Remove trim casing.
Refit
7. Fit trim casing under alpine light trim, align and
secure retaining studs.
8. Fit trim casing retaining stud.
9. Position trim casing rear edge beneath sixth light
seal flange.
10. Fit seat belt to guide, align squab release control
rod and position guide to trim casing.
11. Fit squab release button to control rod.
12. Fit rear compartment lower trim panel.
See rear
compartment lower trim panel - lh - with rear
air conditioning fitted.